Consistency of Characters, Objects, and Styles with Generative AI
AI Tutorial
💡 Consistency!
This is one of the major challenges left for Generative AI: the ability to create consistent characters, objects, and styles across different generations. Well, this and generating hands with five fingers 😂
I'm sure in the near future, Generative AIs would be able to create an abstraction layer that allows us to define/generate our characters, objects, and styles, and then reference them for composing different scenes, photographs or even videos.
Can you imagine the possibilities this will bring when it really works well? From "simple" tasks like consistently generating our character or a scenario in different views and comic panels, to dreaming of a near future where we can generate photorealistic movies and video games simply through natural language and gestures.
Anyway, let's stay grounded and see what we can do today to try and force consistent generations. Let's get to it!
1. Consistency Thanks to a Highly Detailed Prompt
Your main weapon to achieve character consistency across different generations, and therefore the first one you should learn, is quite obvious: you must describe the prompt with extreme detail and care. You must ensure that your prompt contains at least all this information and repeat it as necessary in each new image you generate:
General style of the image: is it a comic? Is it a realistic photograph? Etc.
Description of the character appearing in the image: age, physical characteristics, hair color, etc.
Character's clothing.
Character's action: what are they doing and how are they positioned?
Location: where is the character?
An example of a prompt, which could perfectly work for a comic panel, would be this:
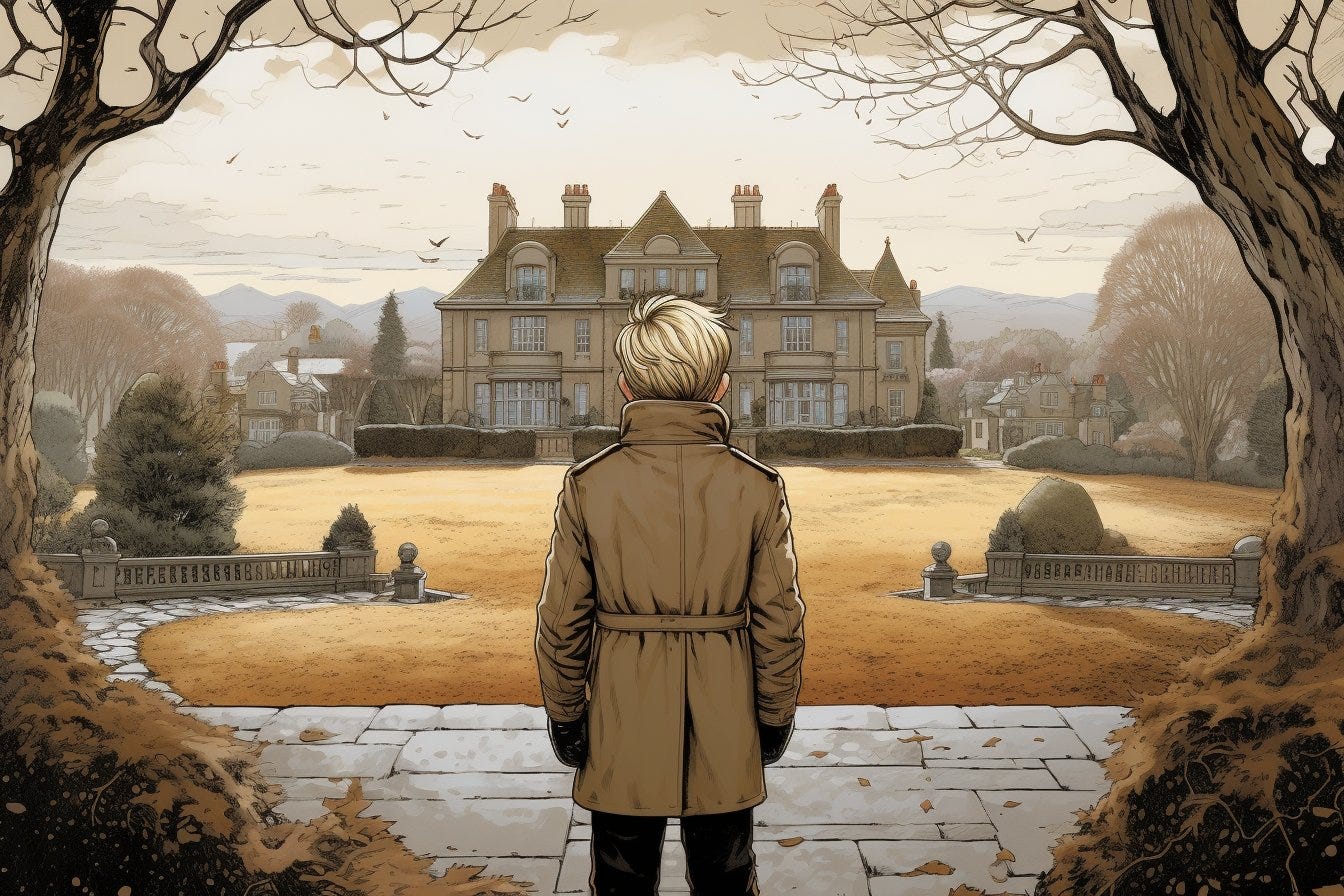
"comic book panel, Daniel, 10 years old blond boy, wearing a brown coat, with his back to the camera, in front on a Manor house, wide angle, Travis Charest, Phil Noto, Gary Millidge, sepia color, high contrast --ar 3:2 --v 5.2"
I've even gone to the trouble of giving him a name, Daniel. Interestingly, this is a trick that seems to work by somehow forcing the model to move to a very specific place in the latent space: where the "Blond-haired Daniels" reside 😃
From here, it will be a matter of maintaining those parts of the prompt that describe the character and the style; and only changing those that describe the character's action and location. Examples:
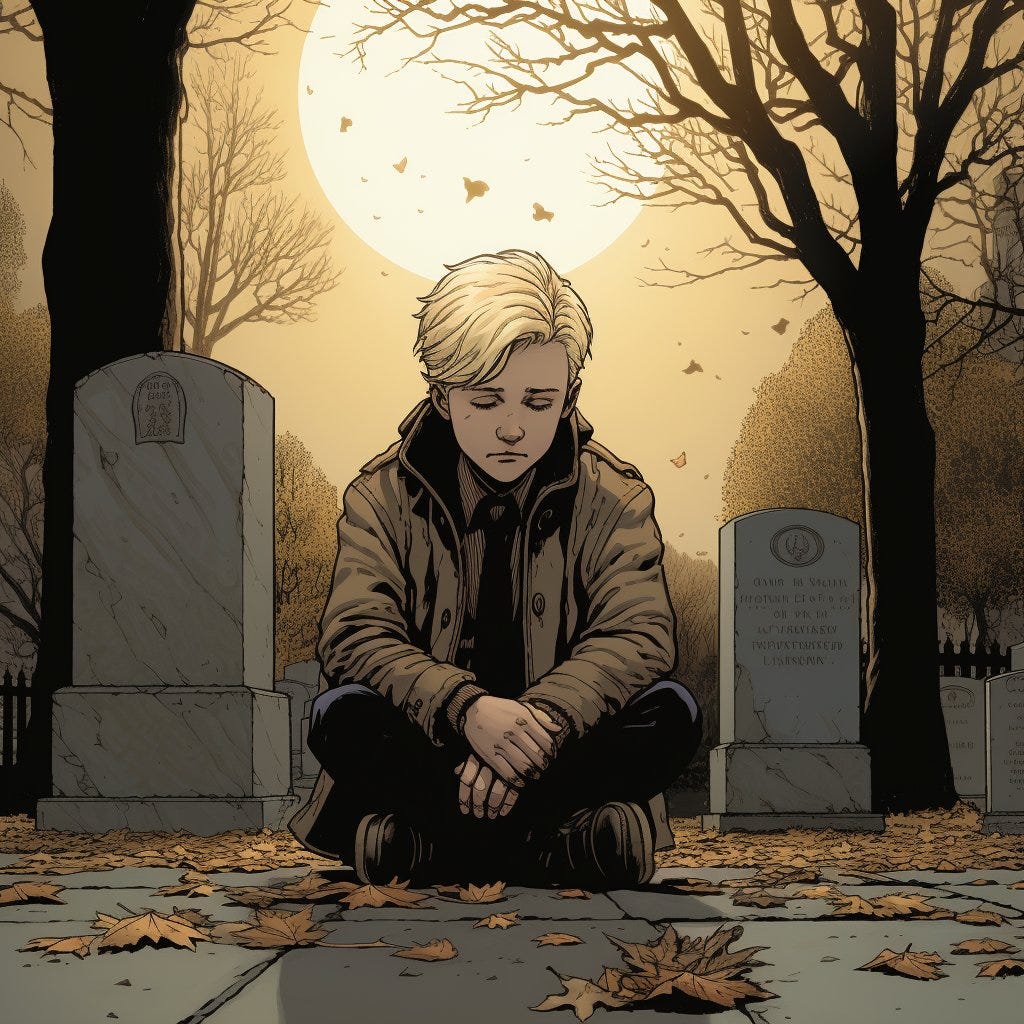
"comic book panel, Daniel, 10 years old blond boy, wearing a brown coat, kneeling before a tombstone, sad, in a cemetery with scary trees, wide angle, Travis Charest, Phil Noto, Gary Millidge, sepia color, high contrast --v 5.2"
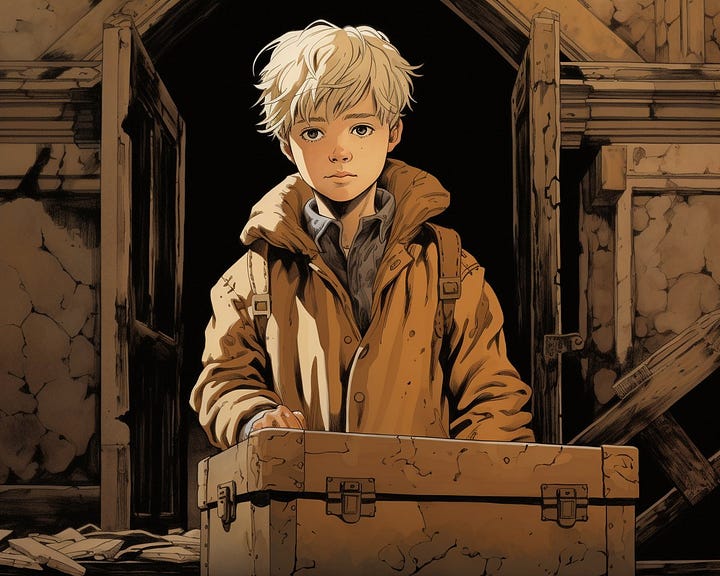
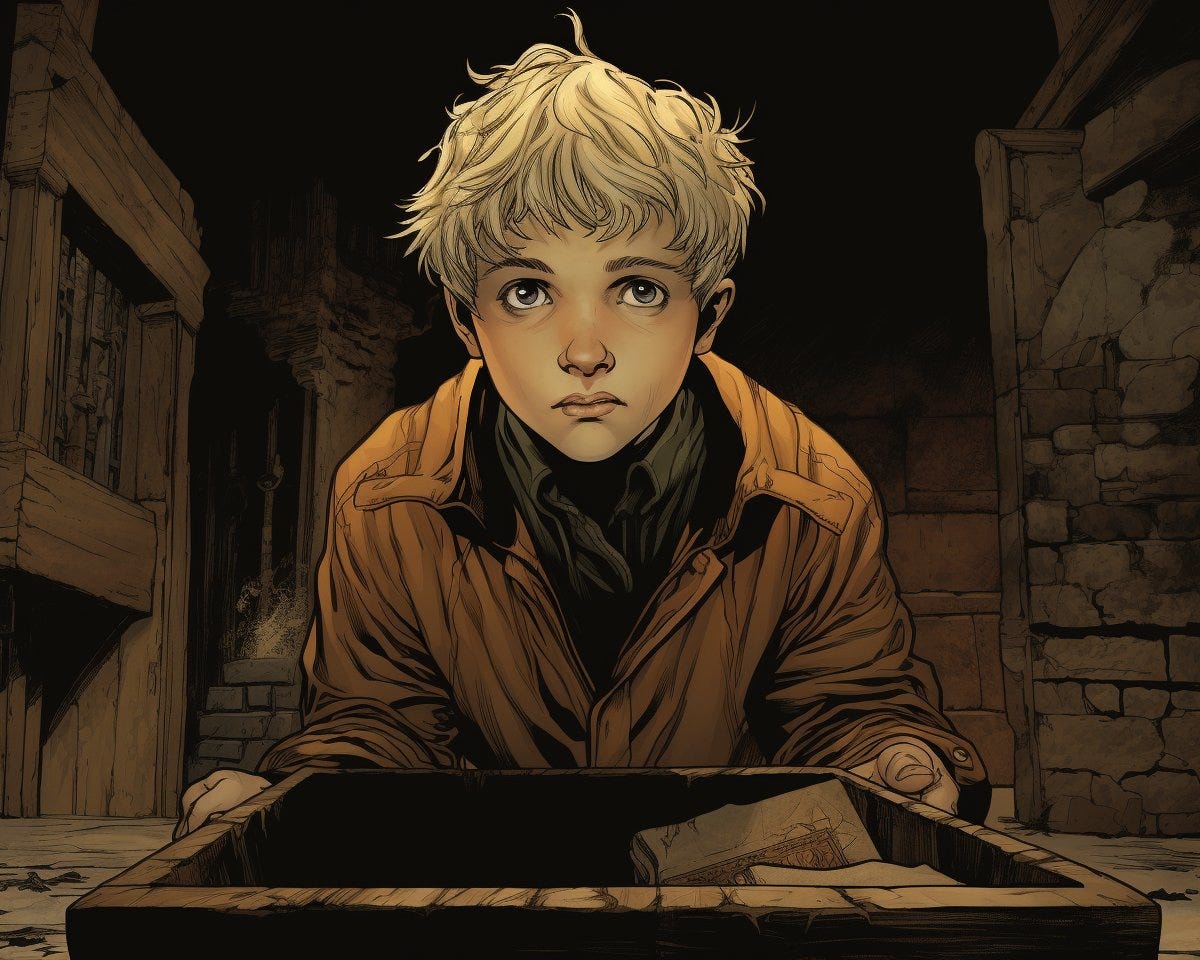
“comic book panel, Daniel, 10 years old blond boy, wearing a brown coat, opening a chest in the cellar of a Manor house, wide angle, Travis Charest, Phil Noto, Gary Millidge, sepia color, high contrast --ar 5:4 --v 5.2"
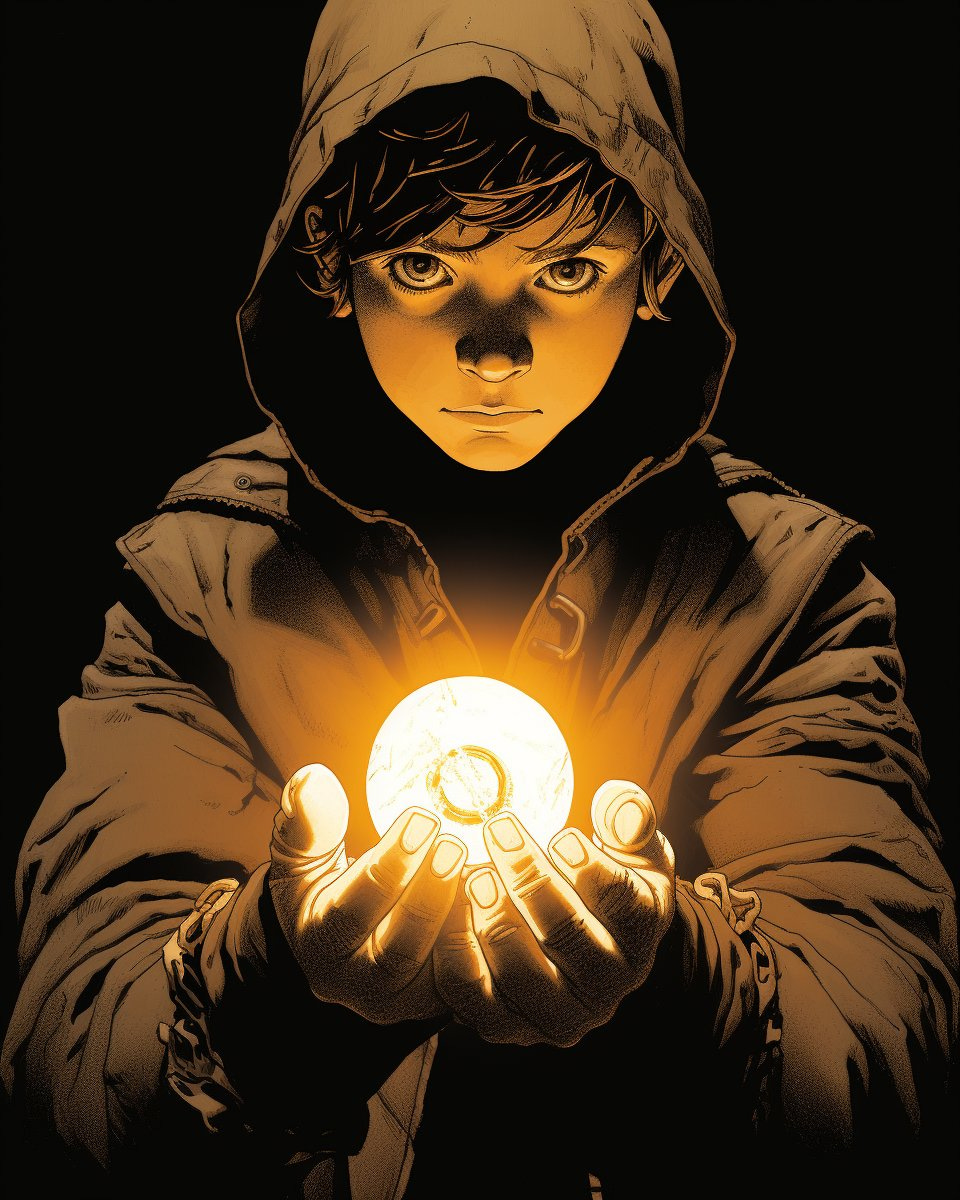
"comic book panel, a magic glowing key in a young hand, close up shot, Travis Charest, Phil Noto, Gary Millidge, sepia color, high contrast --ar 4:5 --v 5.2"
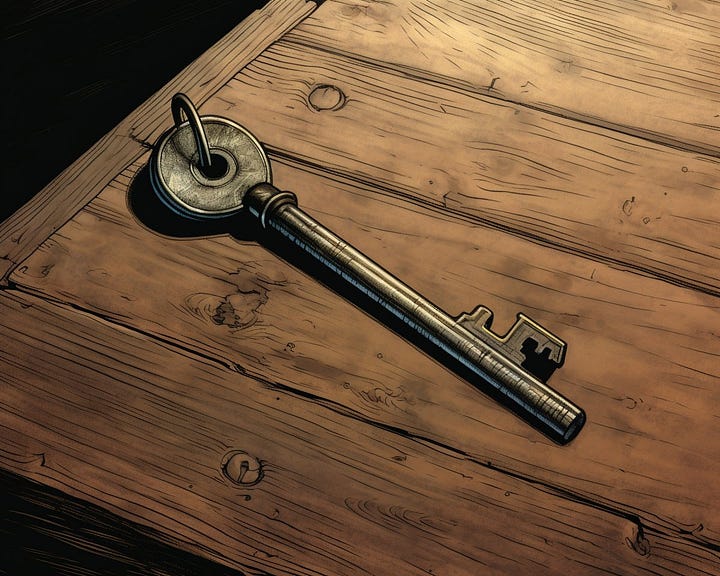
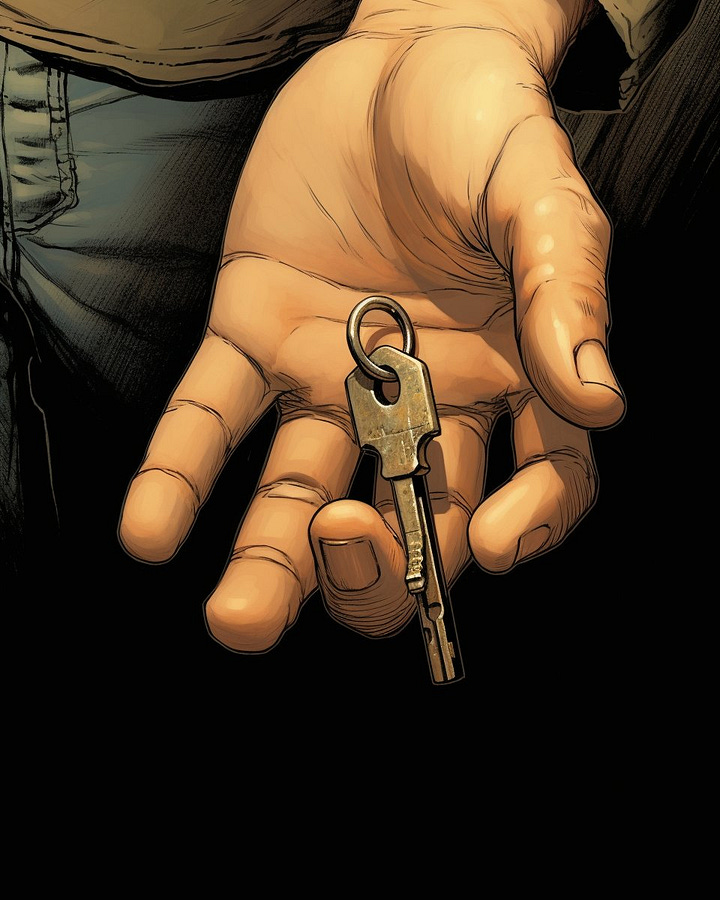
This simple technique, although far from perfect, manages to do the trick in most situations. Of course, it also works for objects, although maintaining consistency between generations is equally challenging and will force you to launch many tests or even have to make editing tweaks in Photoshop. For example, if we want to create a scene in which the character drops a key, we could do it with these prompts, but ensuring the key is exactly the same is a complicated task: you'll have to launch many generations until you get the one that looks the most similar.
"comic book panel, a magic key in the wooden floor, close up shot, Travis Charest, Phil Noto, Gary Millidge, sepia color, high contrast --ar 5:4"
"comic book panel, a magic key in a boy hand, close up shot, Travis Charest, Phil Noto, Gary Millidge, sepia color, high contrast --ar 4:5 --v 5.2"
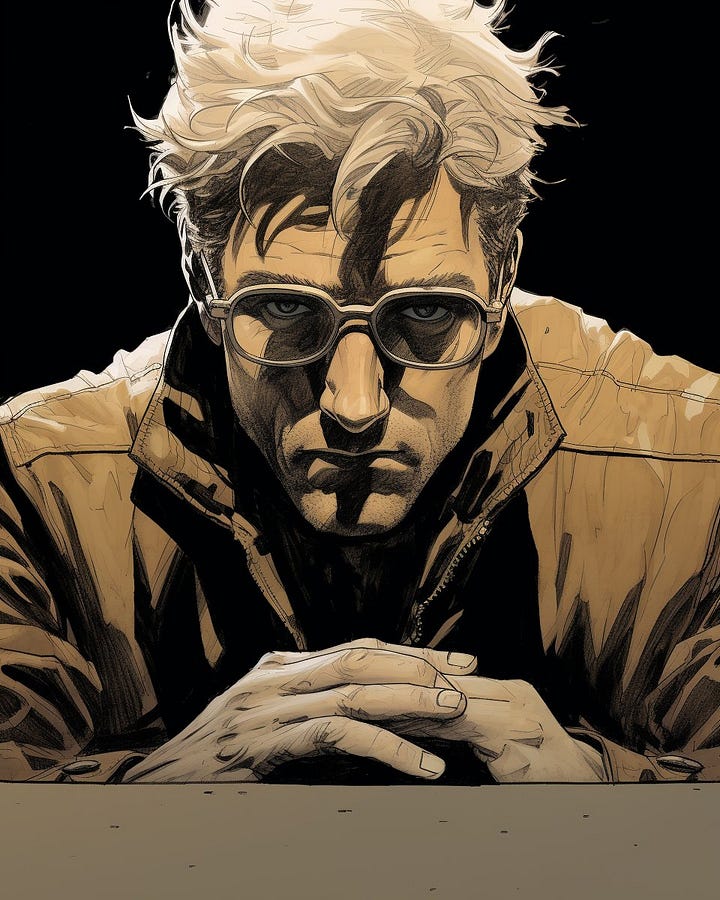
By the way, this technique also works for "aging" a character. You just need to change the age in the prompt:
"comic book panel, Daniel, 10 years old blond boy, wearing a brown coat, opening a chest in the cellar of a Manor house, wide angle, Travis Charest, Phil Noto, Gary Millidge, sepia color, high contrast --ar 5:4 --v 5.2"
"comic book panel, a 40 years old blond man looking to the camera, hard and dark look, black background, wearing glasses, close up shot, Travis Charest, Phil Noto, Gary Millidge, sepia color, high contrast --ar 4:5 --v 5.2"
2. Reinforcing Consistency with Initial Images
If we have enough images of a character or object, we can use them as part of the prompt to reinforce the generation including the URLs to these images at the beginning of the prompt. And if it's a generated character, the first step would be to create these images (at least 4 or 5) of said character. For this, we can use the tricks seen in the previous points and start our generation. Let's try it with an imaginary New Yorker named Kate:
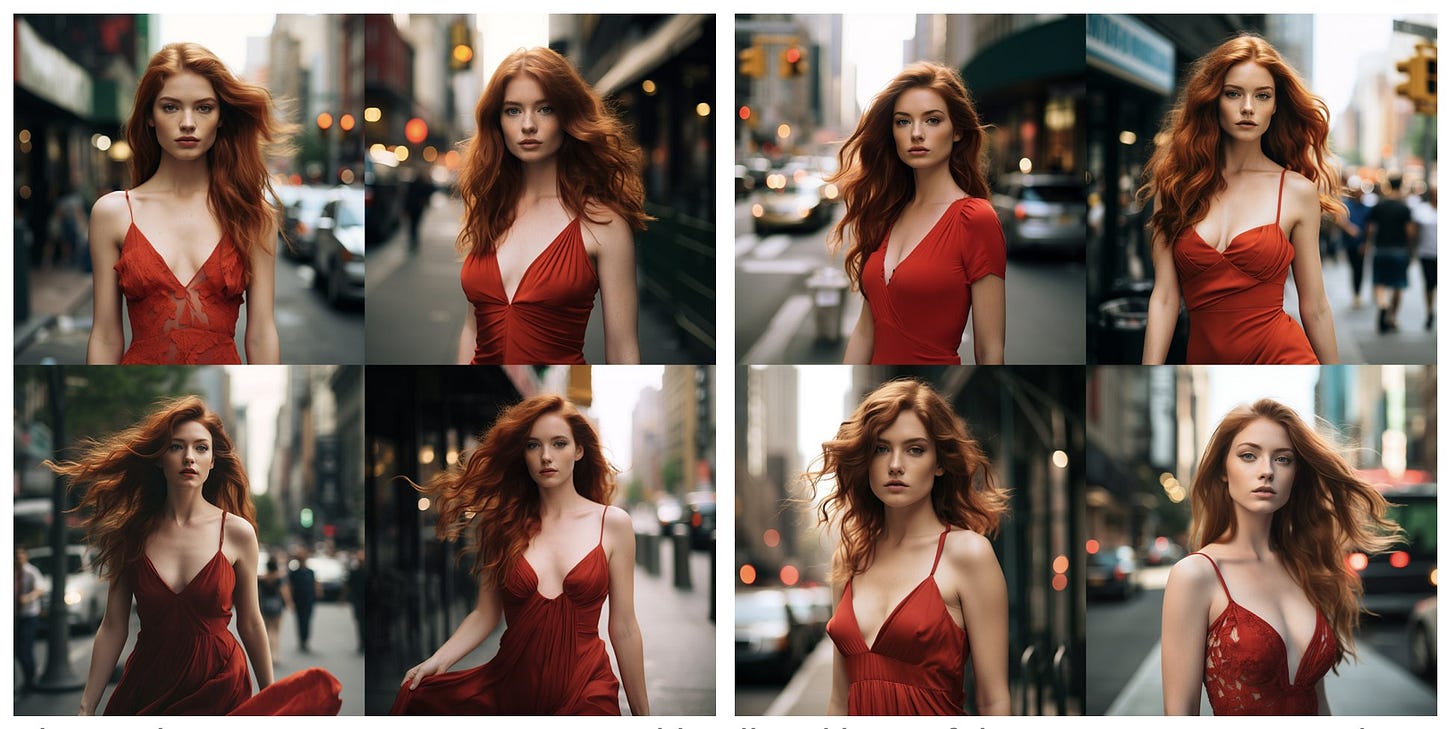
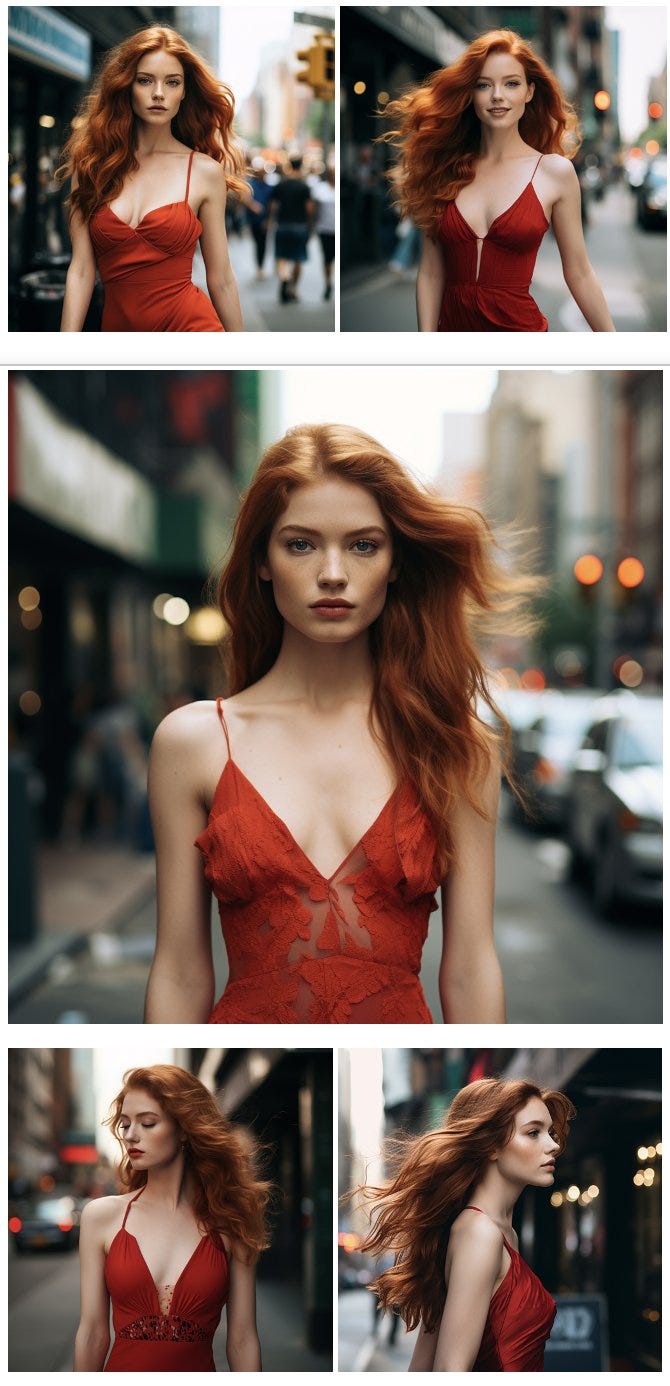
"Phography, cinematic, Kate, 22 years old redhead beautiful woman, wearing a red dress, in New York street"
To achieve greater variety, we can add details to the prompt such as "smiling", "looking to the sky", "in profile to the right", etc.
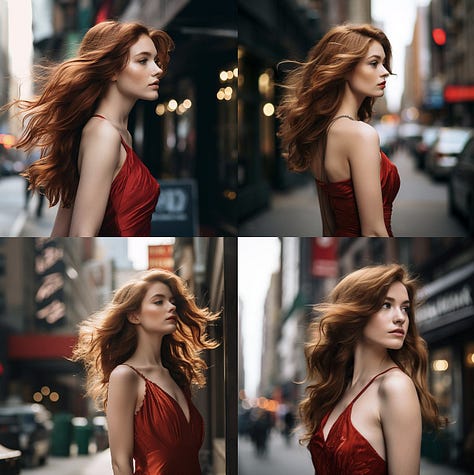
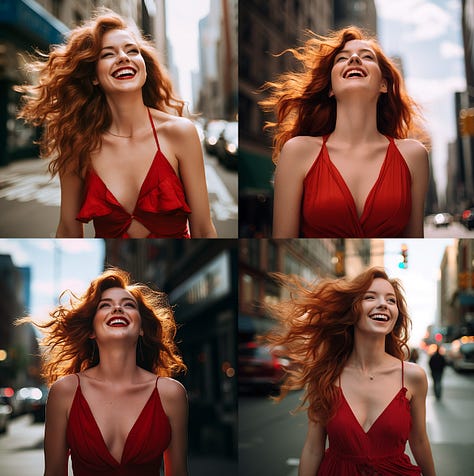
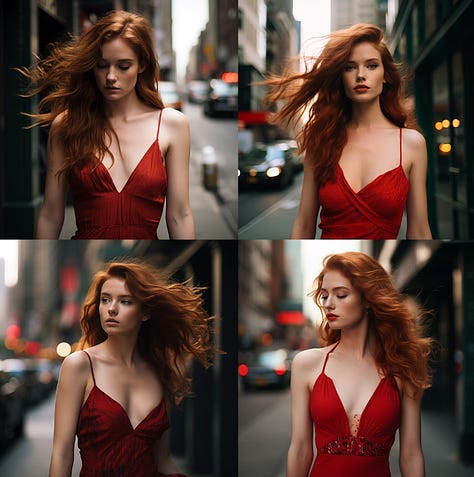
Once we've generated enough, it's a matter of selecting those in which the character looks the most similar and we obtain the greatest possible variety of positions. For example, we could stick with these five images:
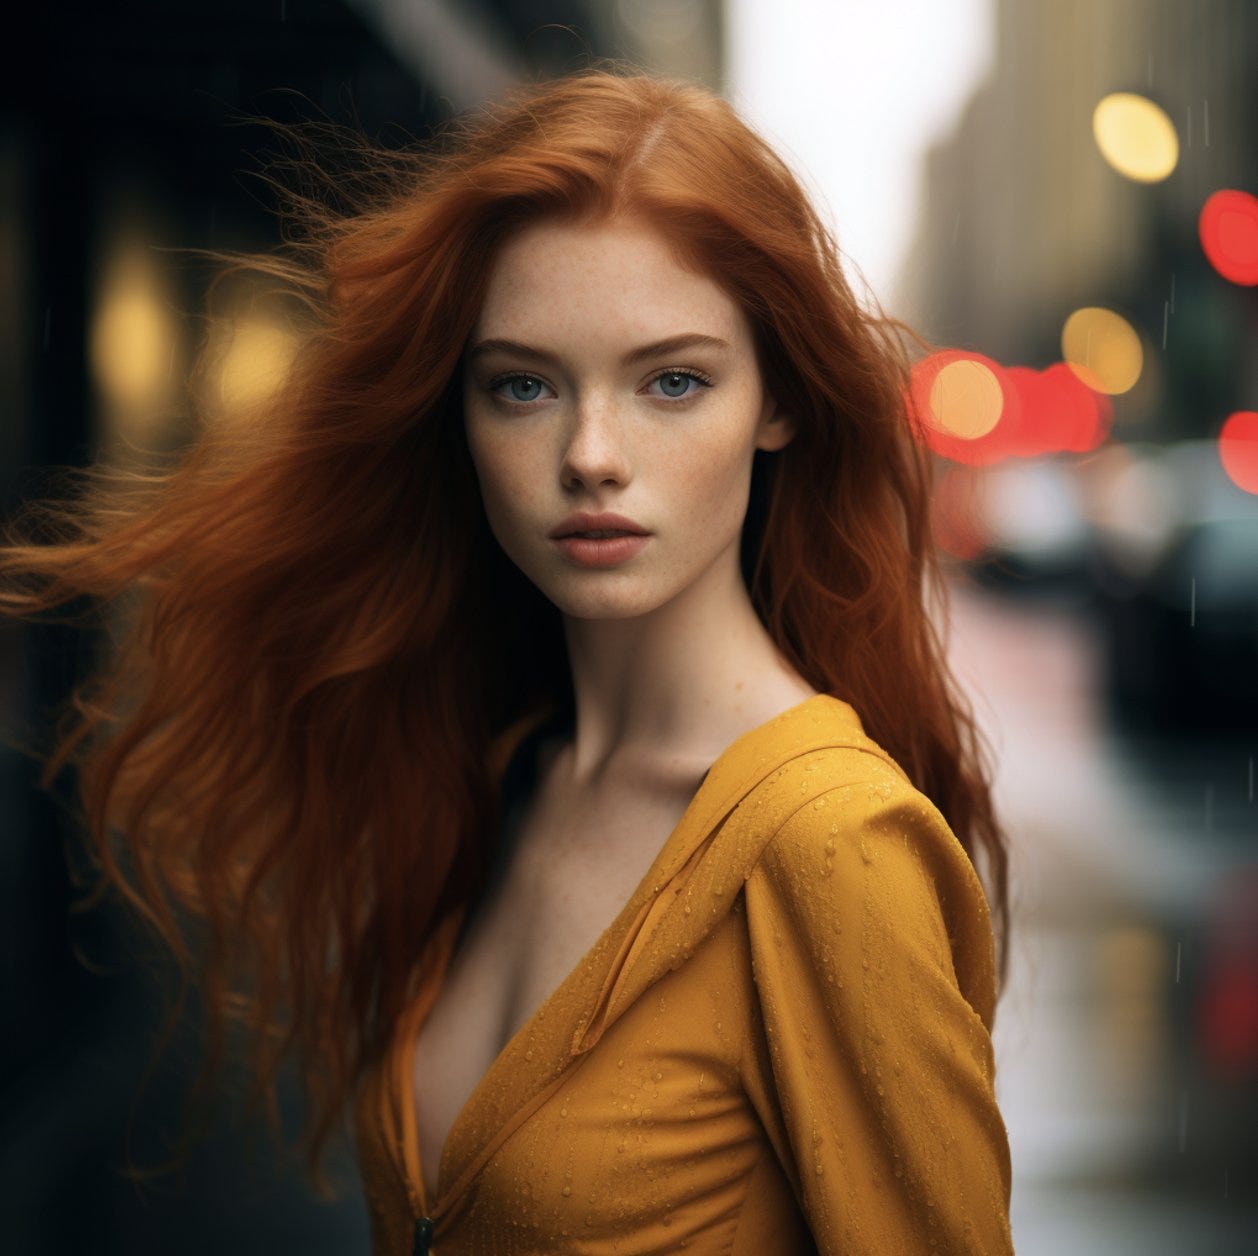
Now, using these five photos in Midjourney as initial images along with a prompt, we could generate Kate in other locations and with different outfits:
"[url1] [url2] [url3] [url4] [url5] Phography, cinematic, Kate, 22 years old redhead beautiful woman, under the rain, wearing a yellow coat, in Paris"
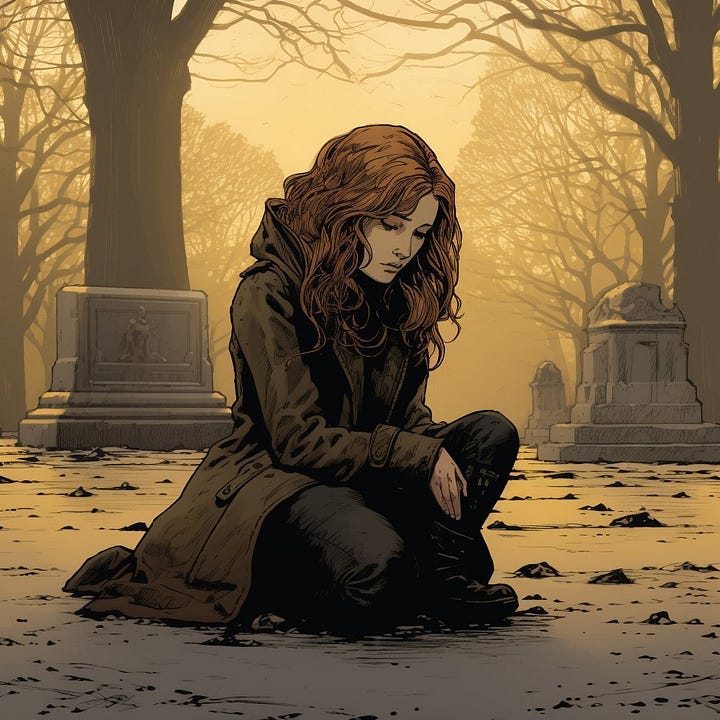
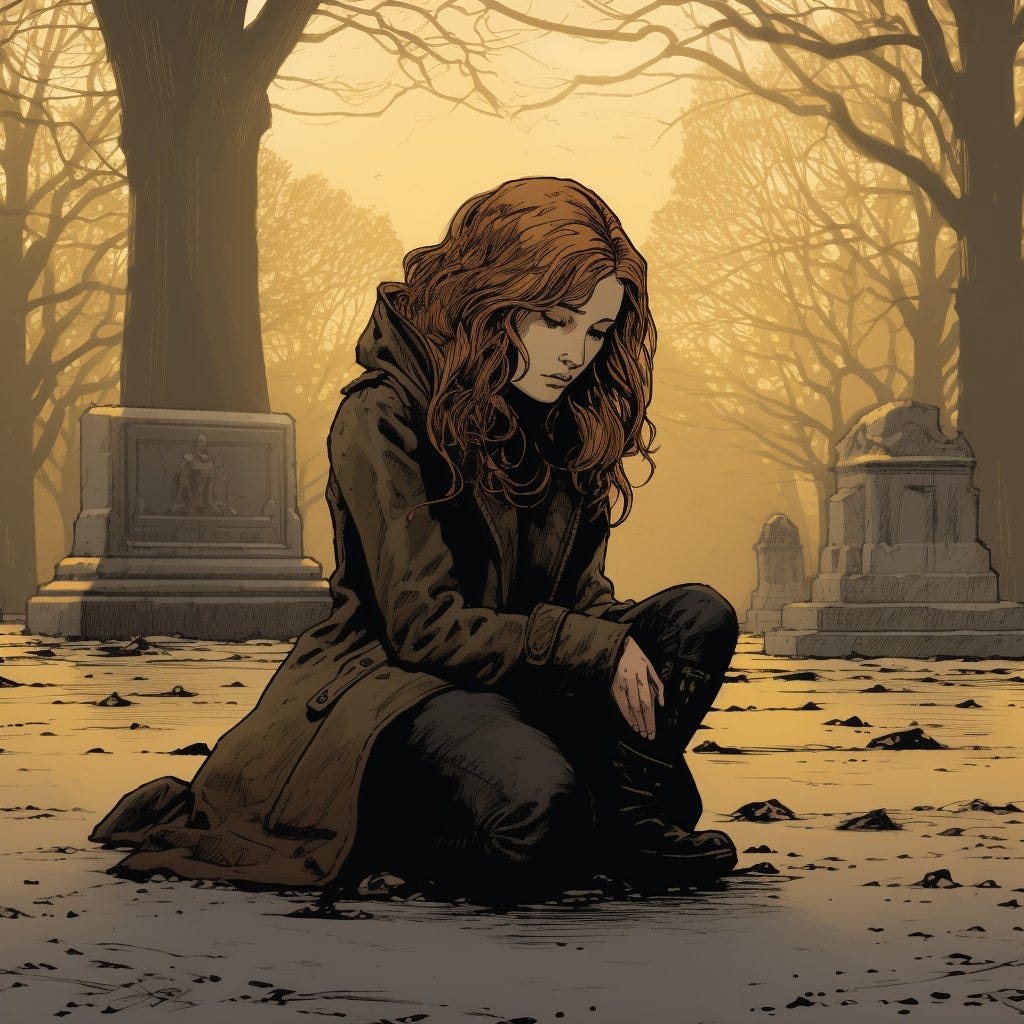
But even without initial images, just with the power of the prompt, we could add Kate to the same comic as Daniel! And the truth is, she would blend in quite well:
"comic book panel, Kate, 22 years old redhead beautiful woman, wearing a brown coat, kneeling before a tombstone, sad, in a cemetery with scary trees, wide angle, Travis Charest, Phil Noto, Gary Millidge, sepia color, high contrast"
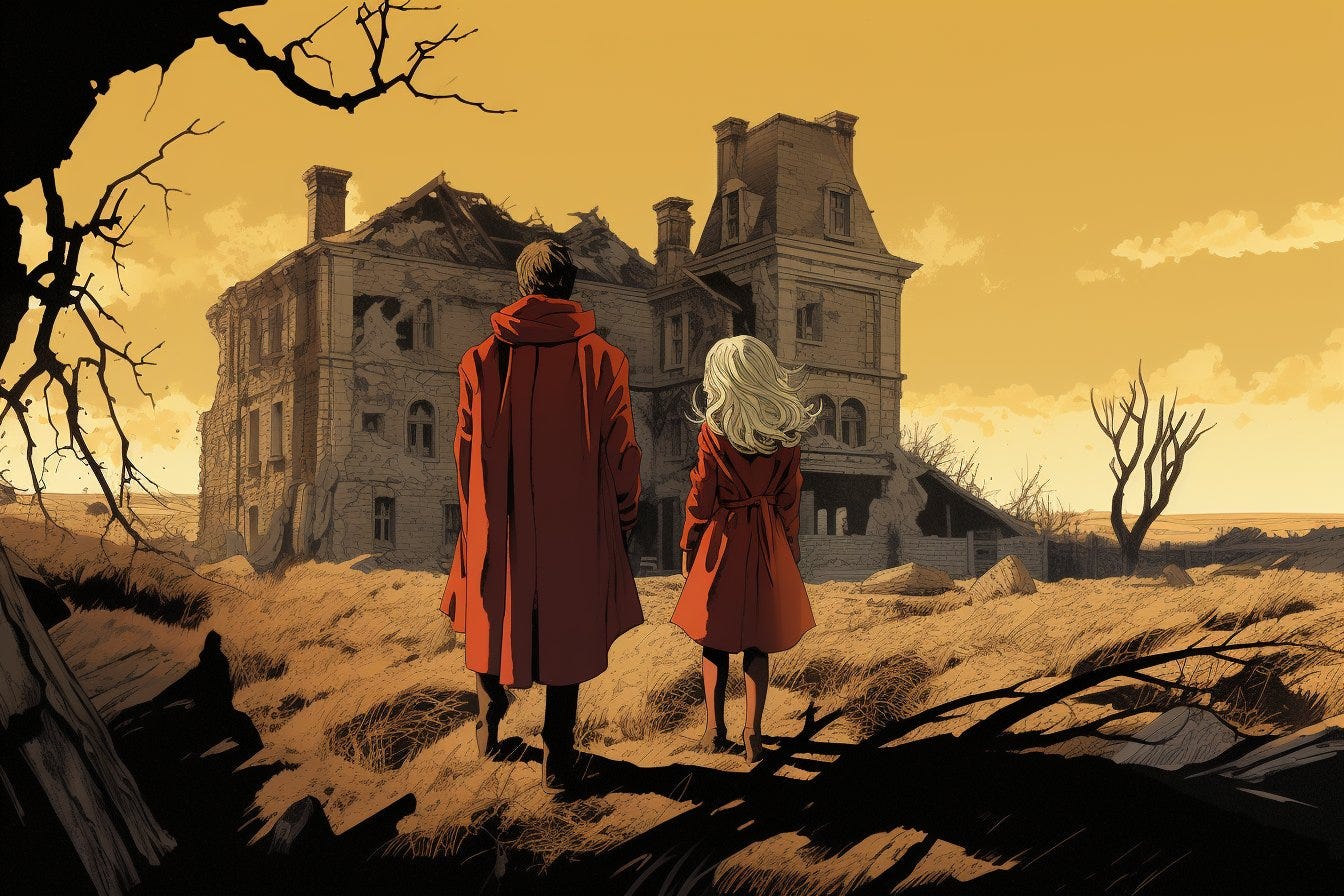
Unfortunately, the problem, whether we use an initial image or not, is that as soon as we want to achieve a slightly more complex scene (in which there are several characters, for example), we will have problems. For example, if we want a scene with Daniel (a blonde 10-year-old boy) and Kate (a young redhead), no matter how much we try with the prompt, in most of the generations the AI will get a bit confused:
"comic book panel, a blond boy wearing a brown coat and a young redhead woman wearing a red dress, exploring an old abandon Manor house, scared, wide angle, Travis Charest, Phil Noto, Gary Millidge, sepia color, high contrast --ar 3:2"
3. Tricks to Increase Consistency
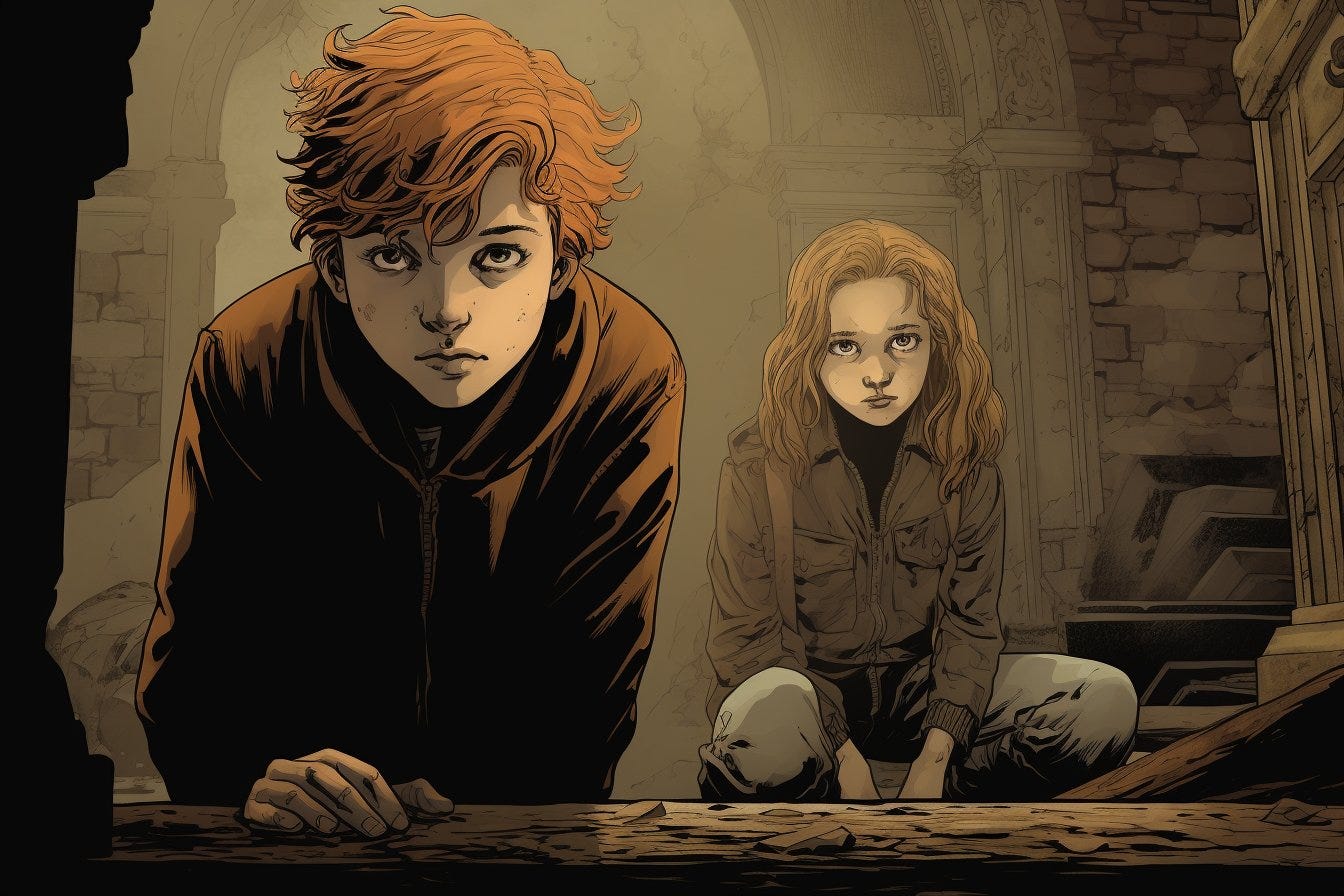
While we wait for AI to improve in terms of its consistency between generations, we can use some tricks up our sleeve. A series of really interesting tricks. For example, from these two images that we generated earlier:
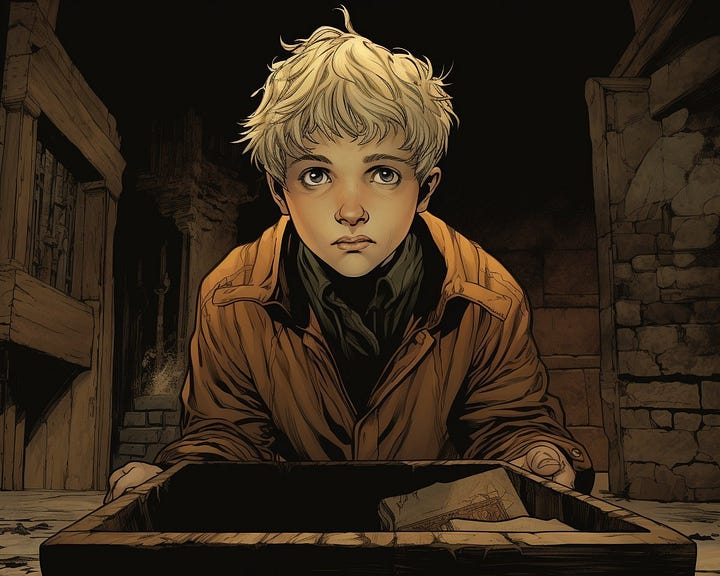
We get to this other image, using them as initial images and adding a good prompt:
"[url 1] [url 2] comic book panel, a blond boy and a young redhead woman, exploring the interior of an old abandon Manor house, scared, wide angle, Travis Charest, Phil Noto, Gary Millidge, sepia color, high contrast --ar 3:2"
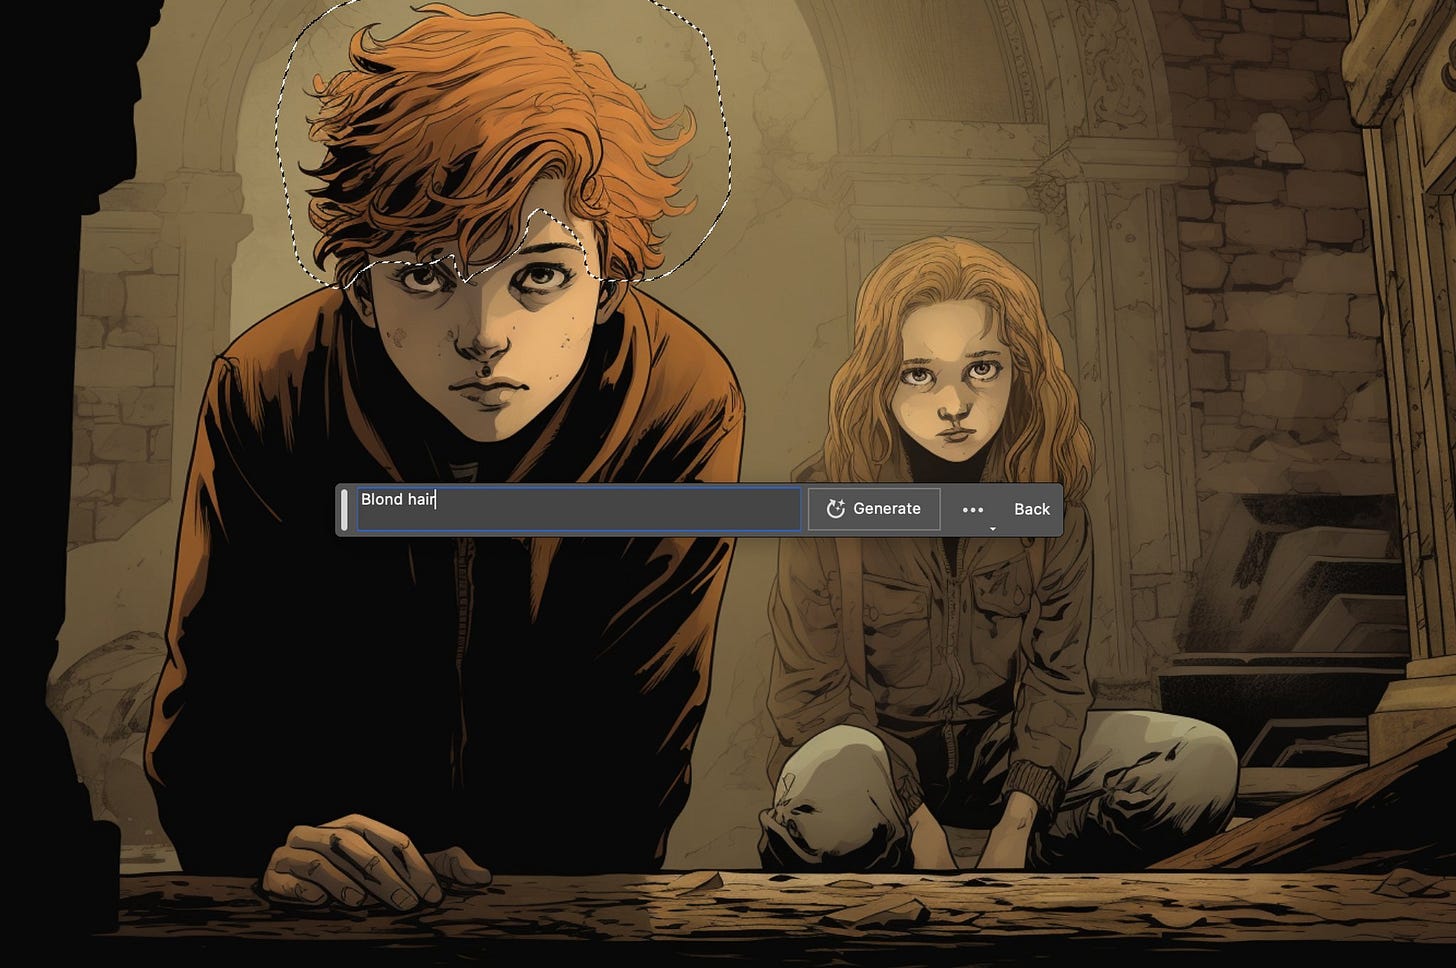
Unfortunately, Daniel has not come out blonde. And the girl, rather than a woman, looks like a child. This is where a series of tricks come in that you can use to get to the image that we really had in mind. Do you remember the Generative Fill of Photoshop? Well, it can certainly become our main ally. Selecting the hair area and indicating "blond hair" in the prompt:
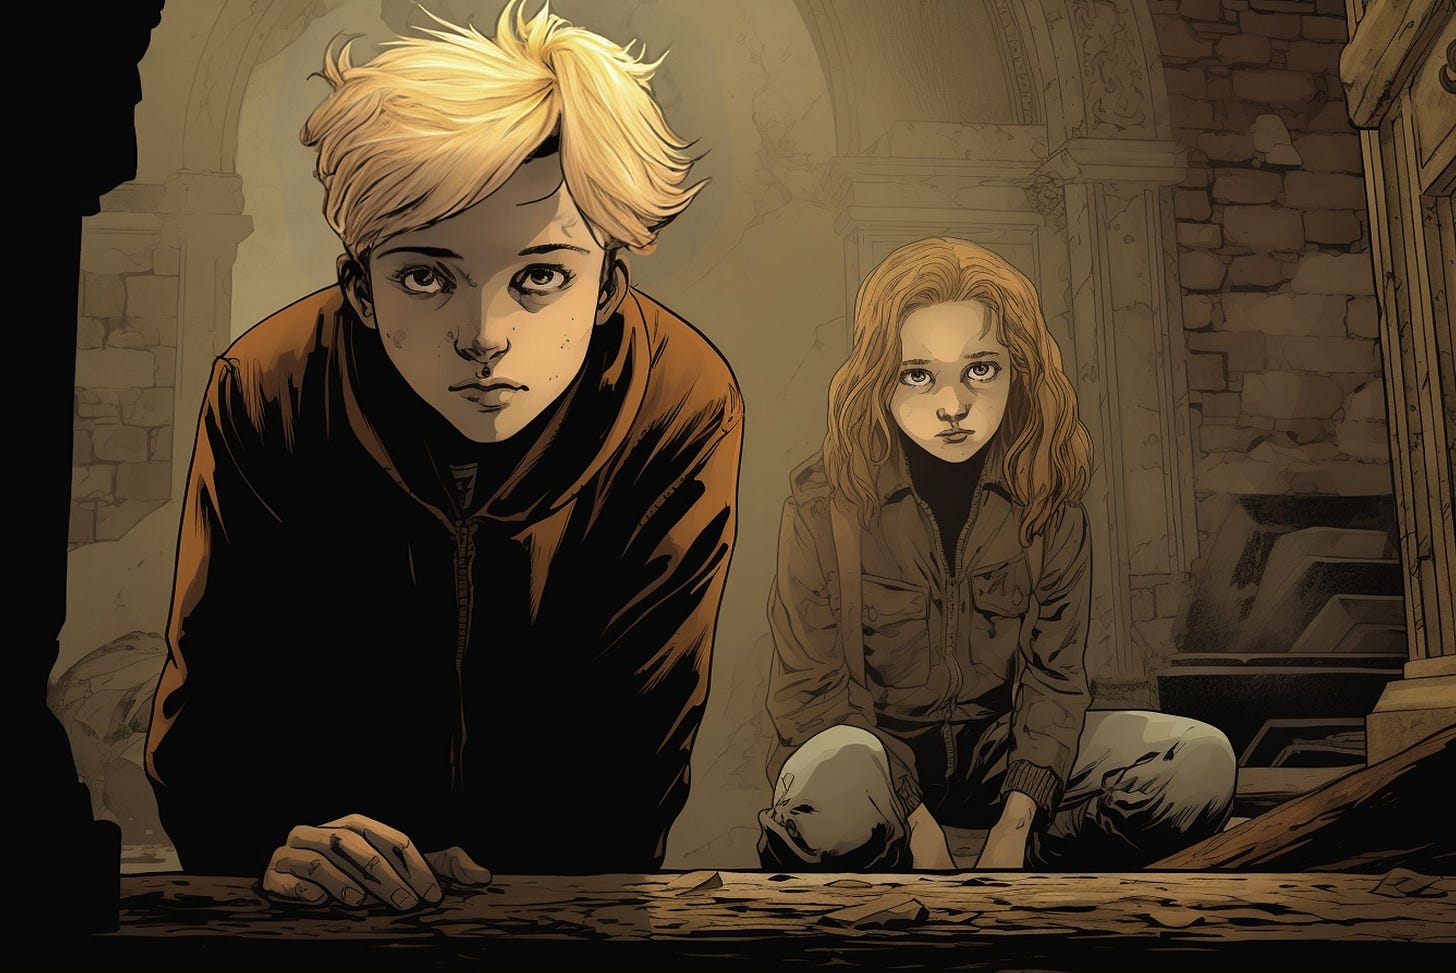
We can give Daniel his blond hair back:
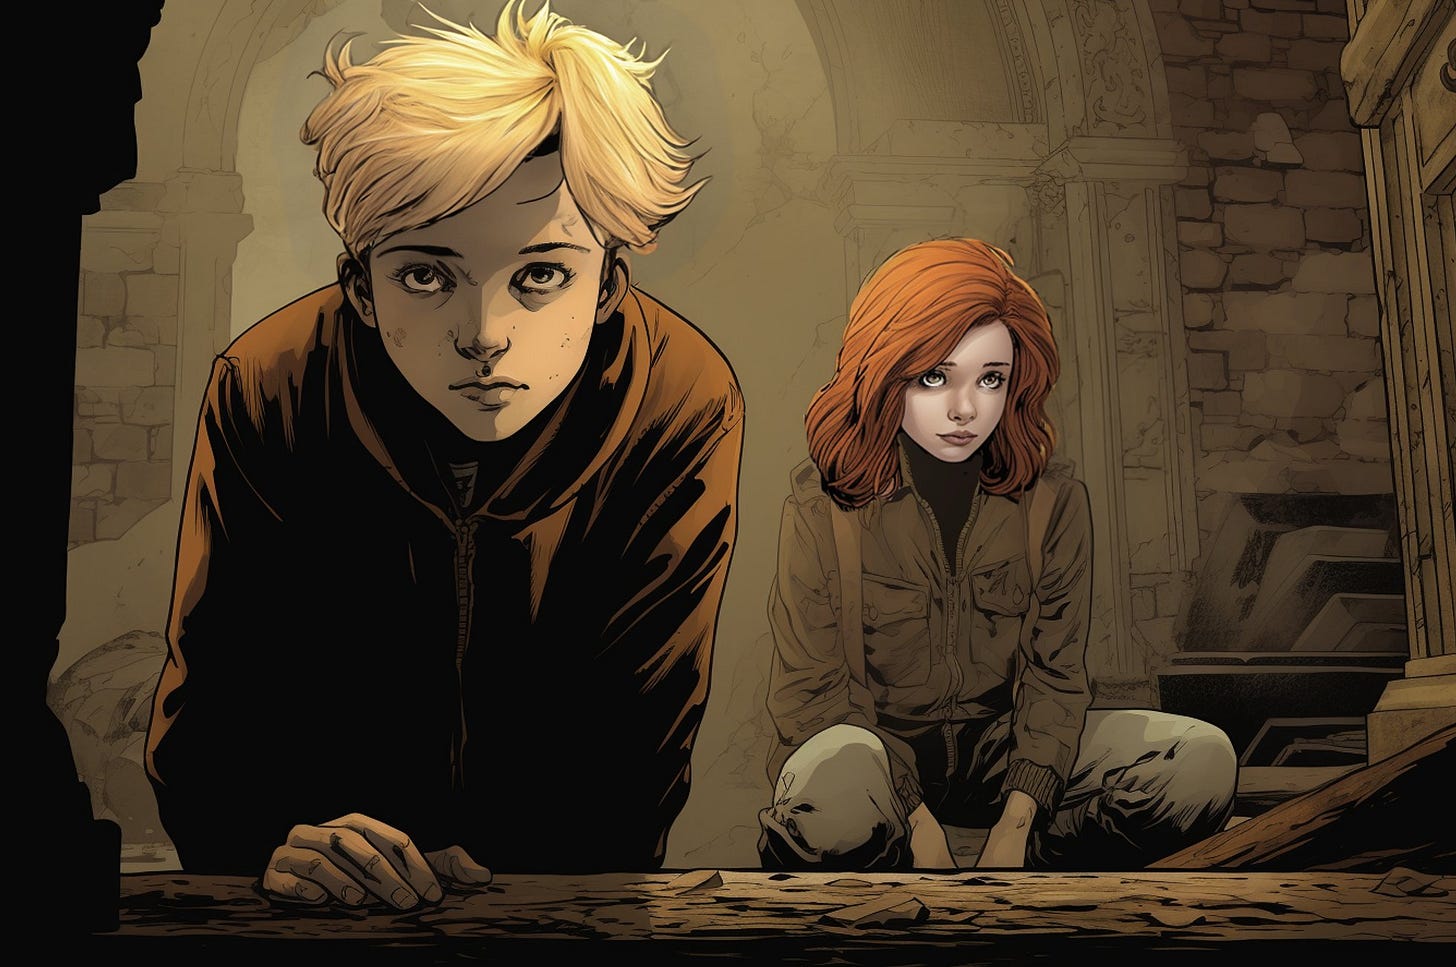
Now, imagine that you have a very clear idea of what the red-haired woman's face should look like. In fact, let's imagine that we would like it to be similar to Kate whom we generated earlier.
The first step would be to go to Photoshop (or any other editing program) and cut and paste the face directly onto the image. (left image) Pretty cheesy, isn't it? Don't worry, Generative AI to the rescue!
Actually, what we're going to do is use this image as an initial image along with the same prompt. And to give it a special weight in the generation, we'll assign a high weight to the image using "--iw 2" in the prompt (the weight ranges from 0 to 2). This would be the result (right image):
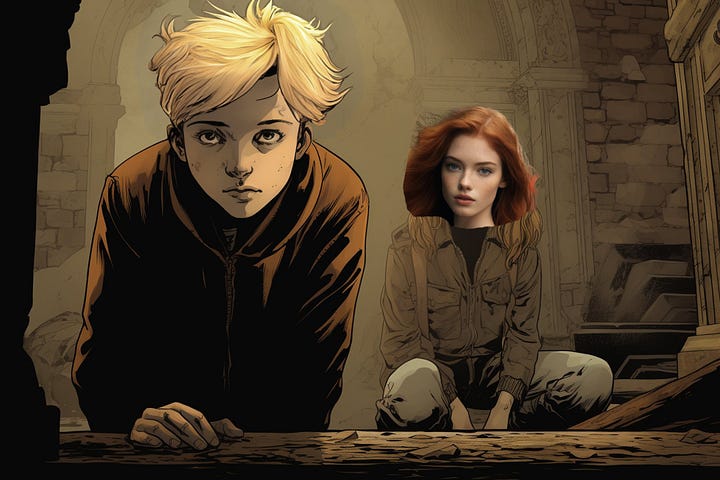
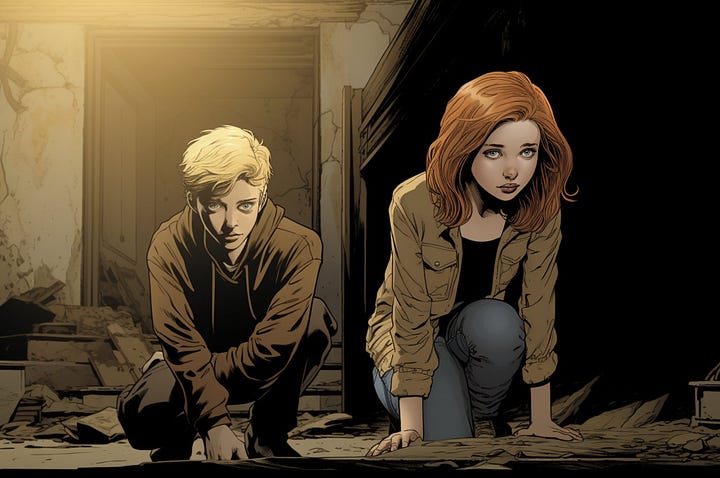
"[url] comic book panel, a little blond boy of 7 years and a pretty 22 years redhead woman, exploring the interior of an old abandon Manor house, scared, wide angle, Travis Charest, Phil Noto, Gary Millidge, sepia color, high contrast --ar 3:2 --iw 2"
It's possible that we might prefer the previous composition. We can always do some editing and crop those elements that we like and mix them with what we have. For example, here I cropped Kate's face to integrate it into this scene (using Photoshop). That's right, if generative AIs are capricious when it comes to consistency, we have no choice but to rely on our ingenuity and some editing work!
4. Consistency thanks to Dreambooth / Loras training a custom model
The technology developed by Dreambooth and Loras around Stable Diffusion allows us to retrain a model with our own set of images.
This can have really useful applications:
For example, training the model with multiple photos of ourselves and then being able to create avatars: dressing up as a superhero, "photographing" ourselves in different locations, etc.
Or even more useful: an artist, illustrator, or photographer could train a model using their own images to speed up their future creations significantly with the help of Generative AI.
It can also be used to create a series of product photos (e.g., a handbag) and then "photograph" it, integrating it into different settings and lighting conditions.
My favorite tools for this, due to their ease of use, are Leonardo.ai and Getimg.ai, which simplify the training process with just a few clicks. Both of them perform model training on their cloud servers, so you don't need to have your own GPU.
Of course, if you need more control or want to use your own GPU, you can use the tool Automatic1111, which is one of the most advanced ones, but unfortunately, it's also more complex to install and use. I only recommend it for advanced users.
💡 Training your model with Leonardo
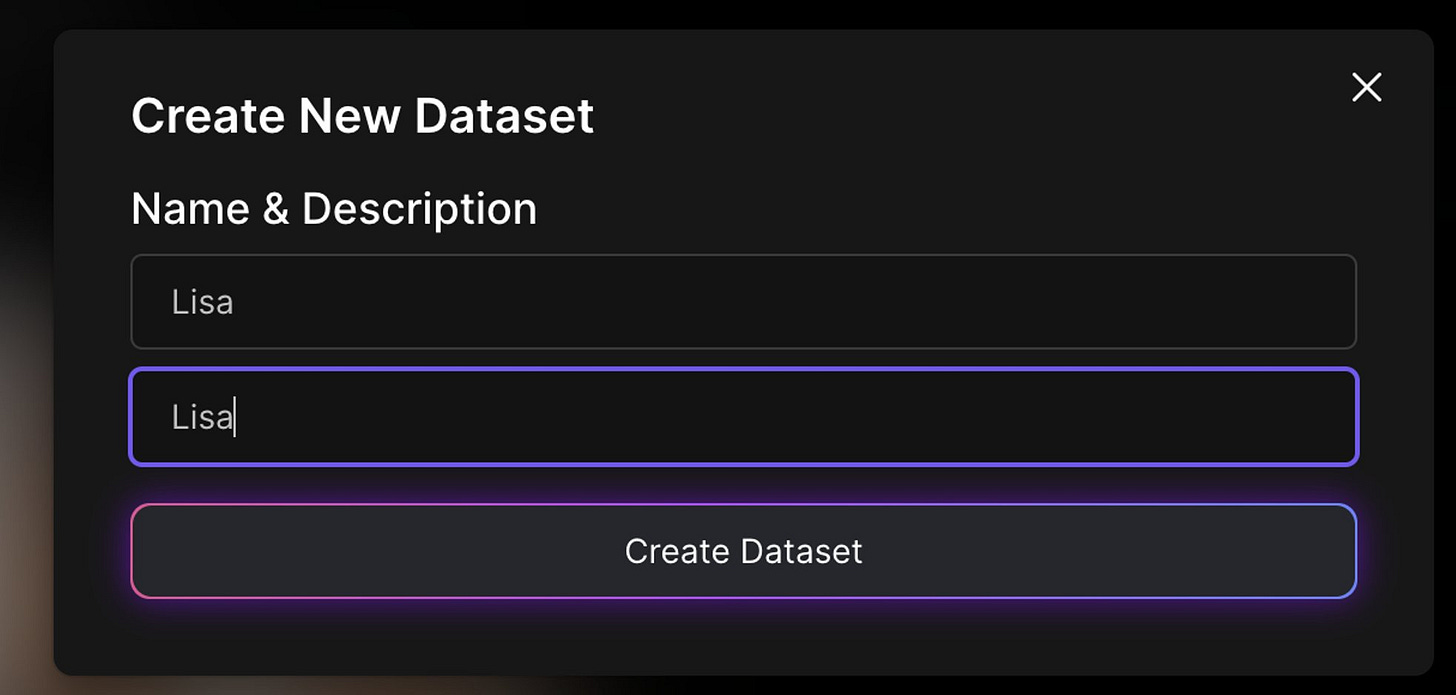
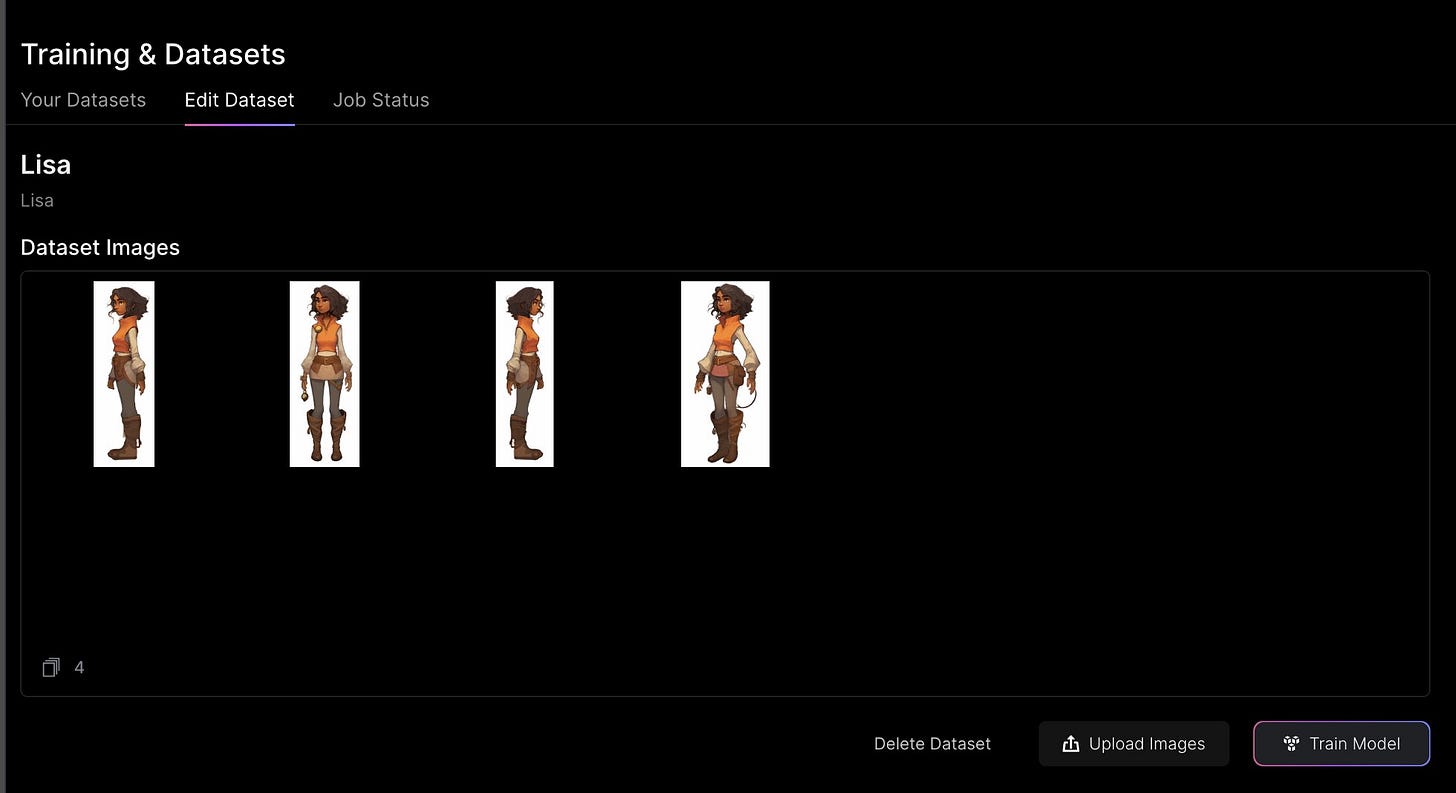
1. Go to the Training & Datasets section and create a new Dataset.
2. For this, it will ask you to upload a series of images. If, for example, you want to add yourself to the model, you could upload around 5-10 photos of yourself. If you can gather a minimum of 15 diverse images, the generations will logically be better.
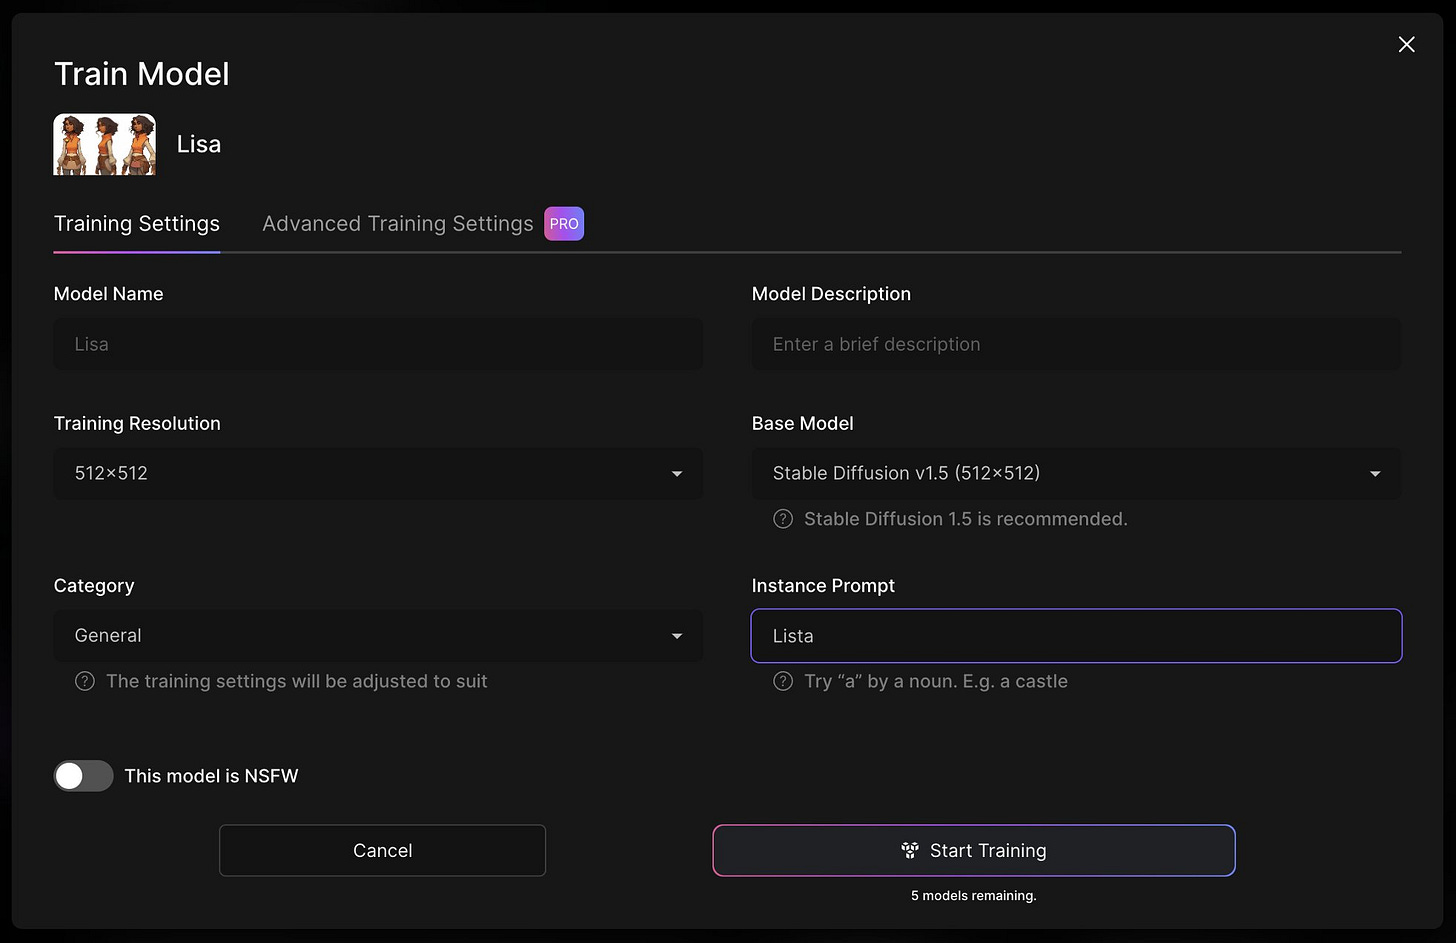
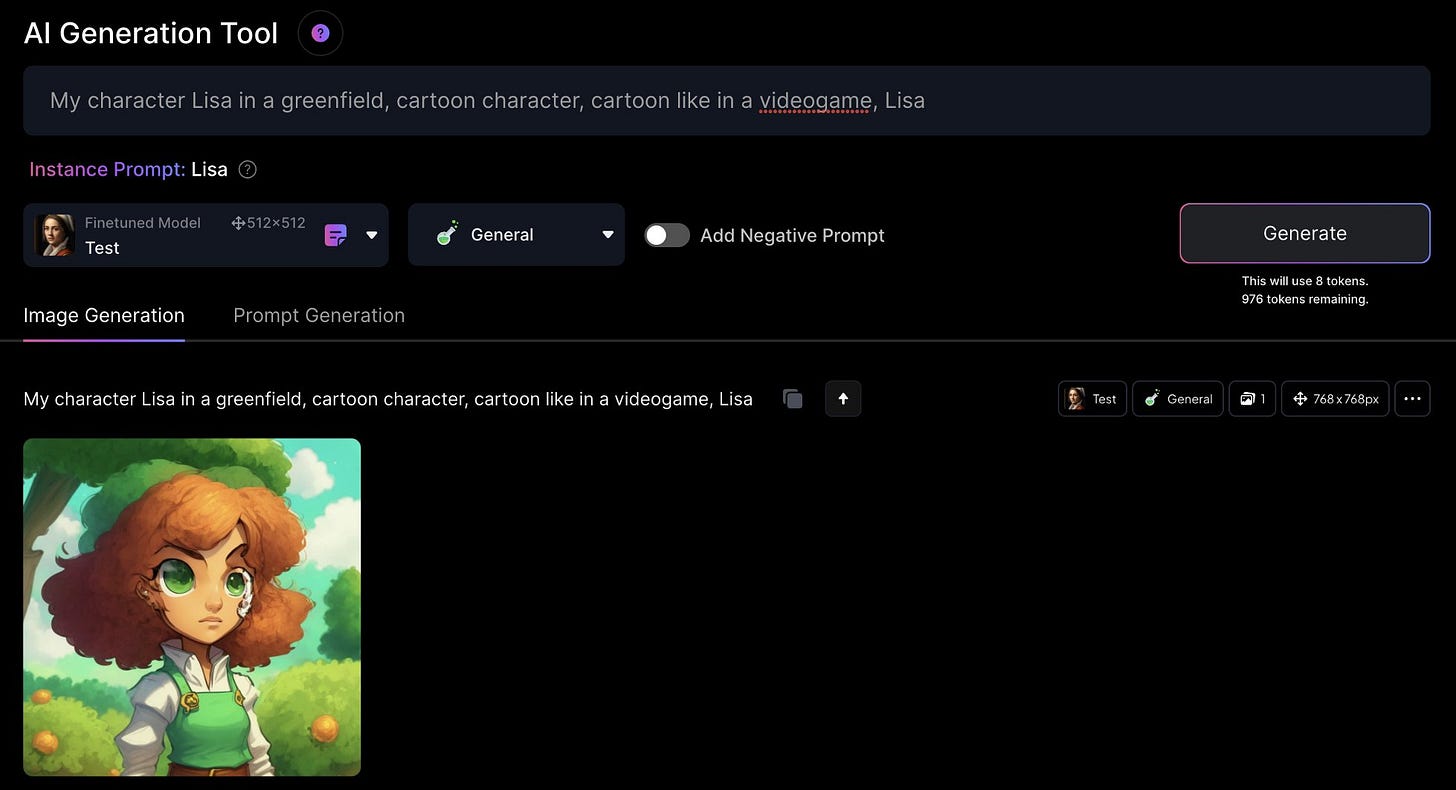
3. Next, Leonardo will ask you for a series of details that you can leave as default, except for the Instance Prompt. This is important because it is the word you will use in the prompt to trigger the training. For example, if you have used your own photos, that word could be your name.
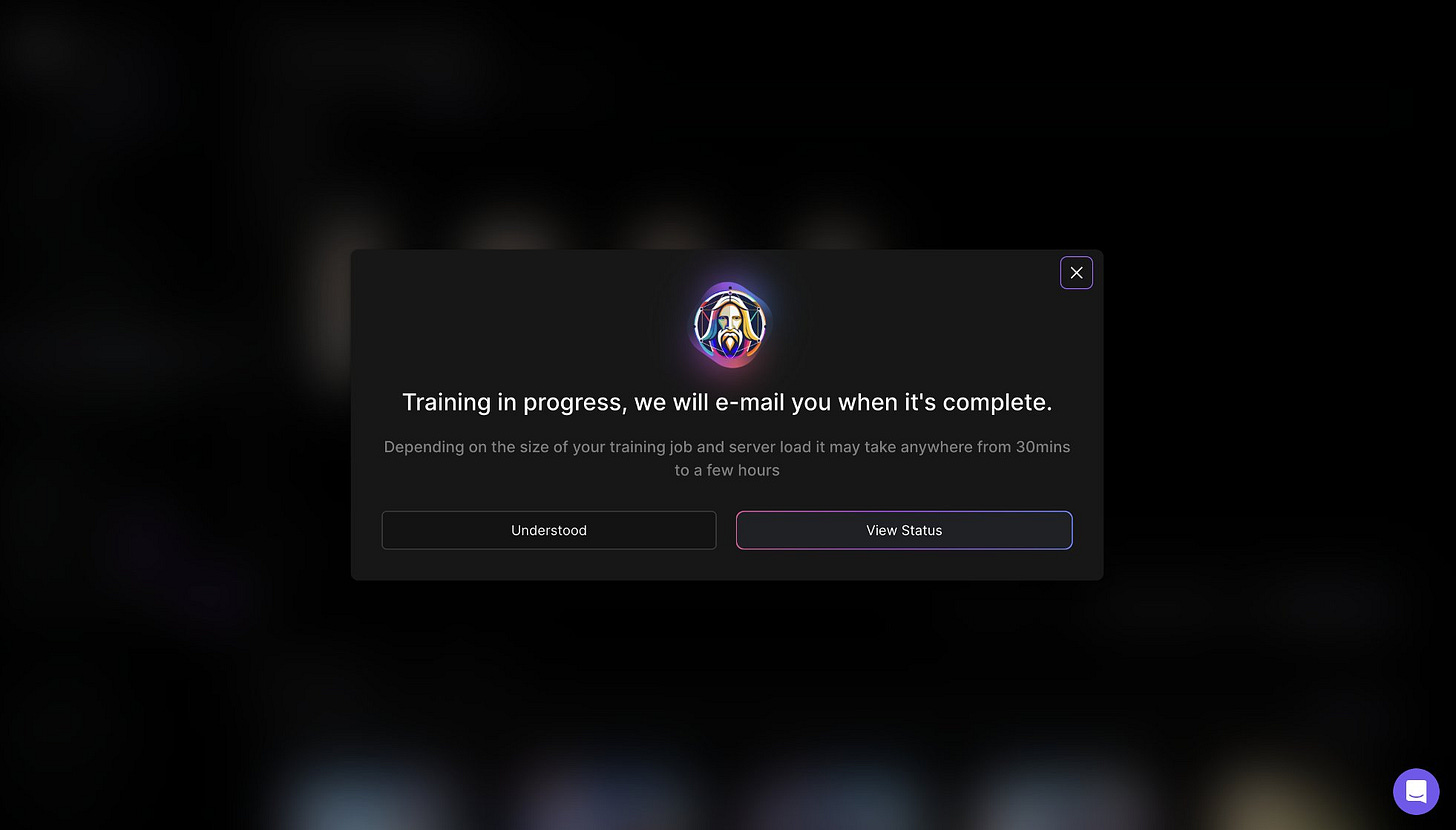
4. After this, Leonardo will need a few minutes to retrain the model.
5. Finally, once the training is complete, from the Image Generation section, you can select your own model (in my case, I named it "Test") and activate the specific subject using their instance ("Lisa" in my case).
💡 Training your model with other tools
Other tools you can use, especially if your goal is to be able to draw yourself with Generative AI, include:
Getimg
Drawanyone
Profilepicture
Photoai
These tools can provide you with options to train your model and generate images based on your preferences and input.
Thank you! If you've made it this far, the end of the tutorial, you're a champion! I hope you have enjoyed it and will help you to create lot of interesting things.
Best AI Prompts bundle for Midjourney
Do you want to learn how to generate impressive images with AI? I generated all the base images of this tutorial using Midjourney with the prompts from the super bundle BestAIPrompts:
👉 Best AI Prompts for Midjourney
“A curated bundle of the most advanced AI prompts for image generation. From photorealism to cartoon: create anything you can imagine using MidJourney!”



Gold
This is great work Javi, reminds me that I need to write an updated version of my Midjourney Tutorial on this. Really tight work here. Love it.